Our Journey
I made my first fursuit In 2012 as a hobby project whilst working as an illustrator, I loved it so much, between then and 2016, I made 22 fursuits.
Then, In 2014 I also opened my first online store, selling a few of my pre-made toony base designs.


People seemed to enjoy these designs and the convenience of not having to carve their own foam, so I was able to start expanding my product range until it became my full-time business.


My first professional setup was in my Grandmothers garage, which I refurbished into a suitable workspace. But I still had to share it with the utilities and an occasional flood.


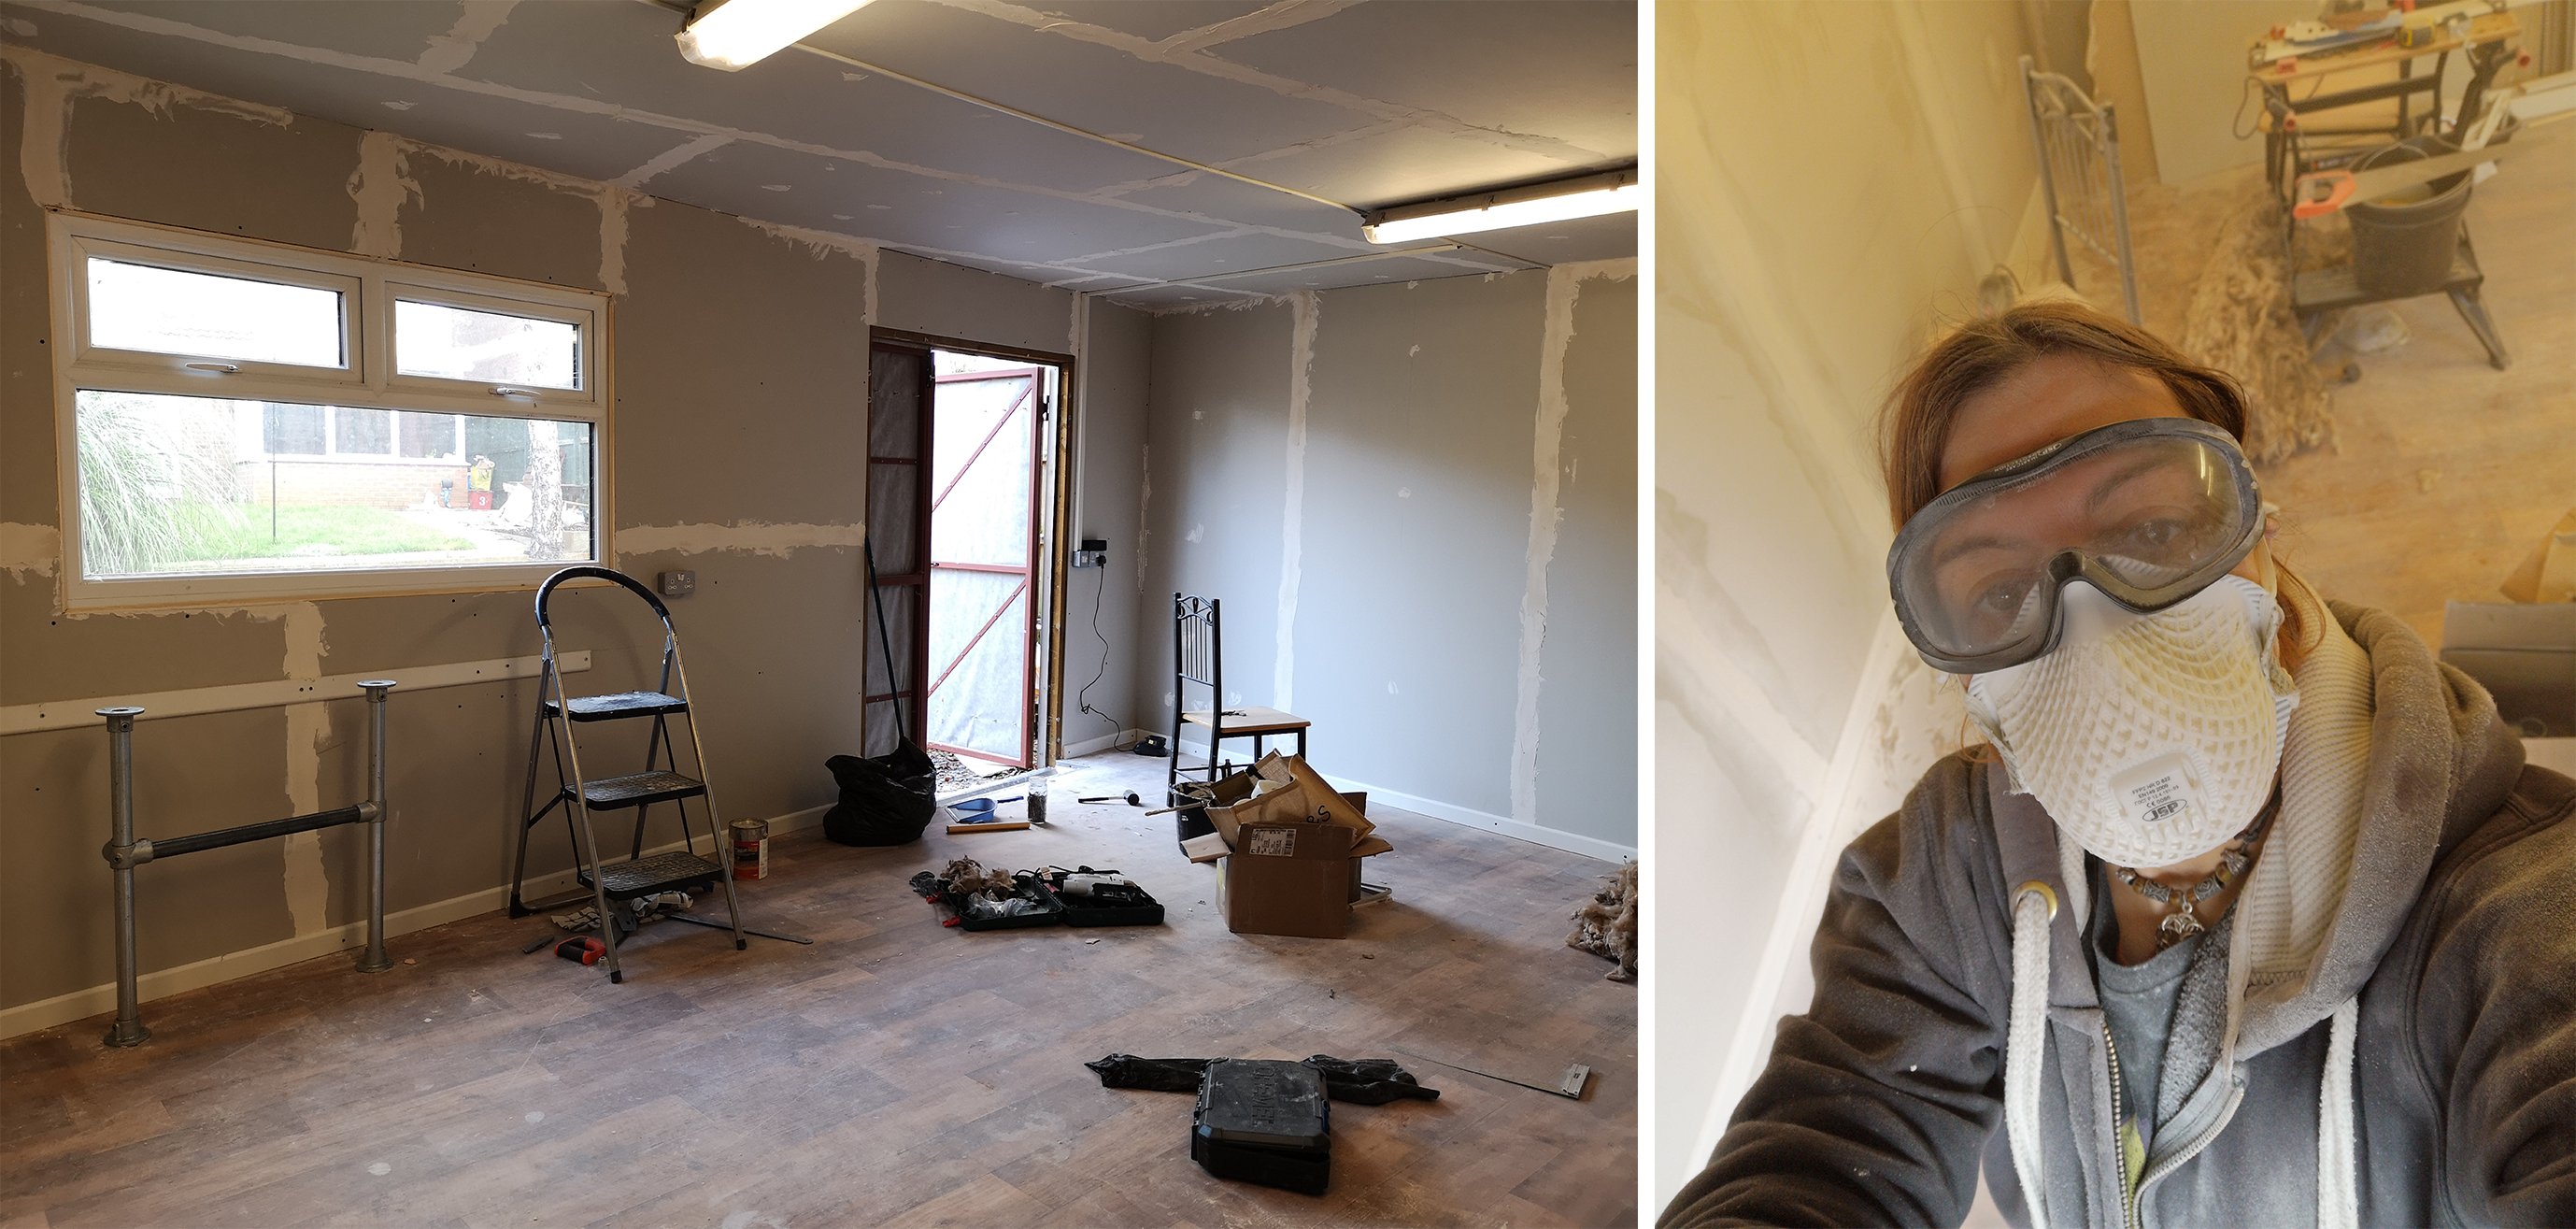
And then, when I bought my first house, I also finally got my new workshop (Some assembly required)! a place I can truly call my own. It took about 6 months for me to do the building work to get up and working fully, whilst I still worked on orders and on my new house. But it came out better than I could have imagined. (You can see the results on my about page)


Blog posts
View all-

2024 in review and what to expect in 2025
With a big convention line up, 2024 was a big year for me hitting the road and showing off my wears live, this was a goal I had at the...
2024 in review and what to expect in 2025
With a big convention line up, 2024 was a big year for me hitting the road and showing off my wears live, this was a goal I had at the...
-

2023 Summer news letter: transendant space goat
Featuring in this quarterly blog, the painstaking process of building an army of animal friends, a weird mini mannequin head with a stupid face, and I start my new life as...
2023 Summer news letter: transendant space goat
Featuring in this quarterly blog, the painstaking process of building an army of animal friends, a weird mini mannequin head with a stupid face, and I start my new life as...
-

Spring News letter
Summer is nearly here! Birds are chirping outside the workshop, I'm not having to use my heater so much, and it’s not dark outside when I emerge in the evening! and...
Spring News letter
Summer is nearly here! Birds are chirping outside the workshop, I'm not having to use my heater so much, and it’s not dark outside when I emerge in the evening! and...


